|
TABLE OF CONTENTS
JD Introduction and Setup
1. Getting Started with JD 2. Using The Robot Program 3. Introduction to Robotics 4. JD Box Contents 5. Battery Care & Charging 6. Building JD Humanoid 7. Connecting to JD over WiFi 8. Using a USB Wi-Fi Dongle 9. Fine Tune JDs Servos 10. Care for JD 3D Printing for JD 1. 3D Print Files for JD Mobile App for JD 1. Using JD with Mobile App General CoursesSoftware 1. ARC for Windows PC 2. Example Projects 3. Controls 4. Getting Help with Controls 5. ControlCommand() 6. Virtual Desktops 7. RoboScratch 8. Blockly 9. EZ-Script Mobile Software 1. Create a Mobile App Linear Programming 1. Create a Scene Using RoboScratch (Big Hero Six) 2. Create a Scene using Blockly (Avengers) Logical Programming 1. Programming Concepts (Variables, If/Else, Logic) 2. Counting Up 3. Counting Down Camera Input 1. Introduction to the EZ-B Camera 2. Face Detection with RoboScratch 3. Face Detection with Blockly 4. Face Detection with EZ-Script 5. Color Tracking with Servos 6. Color Tracking with Movement 7. Detecting Multiple Colors 8. Line Following with Roli, AdventureBot and Shell-E 9. Vision - Object Training & Recognition 10. Glyphs to Control Robot Movement 11. Detecting Glyphs & Augmented Reality 12. QR Code Detect 13. Microsoft Cognitive Emotion 14. Microsoft Cognitive Vision Audio Input 1. Speech Recognition RGB Output 1. RGB Animations Positioning 1. Servo Control 2. Introduction to Servo Motors 3. Create a Robot Dance 4. Program Robot to Dab 5. Program Robot to Play Piano 6. MYO Gesture Armband Navigation and Movement 1. Movement Panels 2. Navigating using RoboScratch 3. Navigating using Blockly Creative Applications 1. Customize Your EZ-Robot 2. Control Robot From Twitter 3. Nest Thermostat EZ-B v4 Robot Brain 1. EZ-B v4 Robot Brain Overview 2. DIY Autonomous Robot Vehicle 3. EZ-B v4 and IoTiny Wi-Fi Modes 4. Change WiFi Name 5. Resetting Your EZ-B v4 or IoTiny 6. USB WiFi or Ethernet Adapter Robot Troubleshooting 1. Which Robot are You Using? |
Building JD Humanoid ROBOTIntroduction
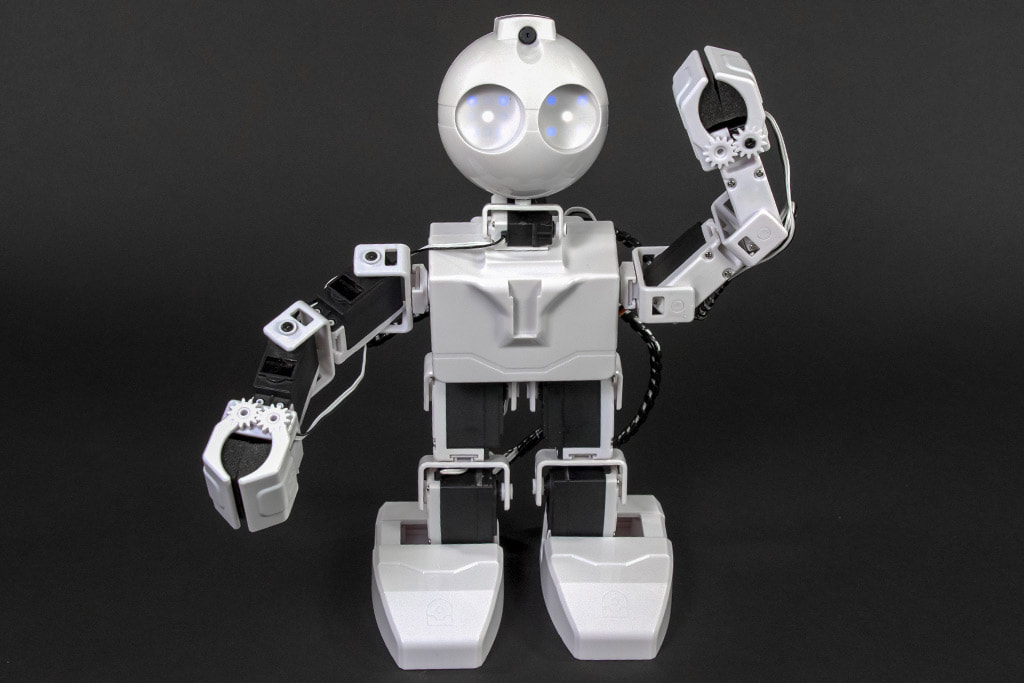
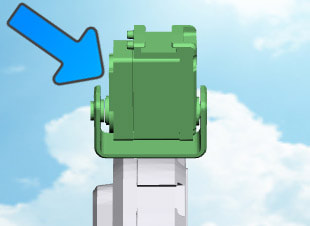
ARC Software Apps (formerly EZ-Builder) include assembly instructions for your JD Humanoid robot. When you load a project, the ARC software will ask if you would like to view the assembly instructions. In this lesson, we will explain how to assemble your JD Humanoid robot. Don't Have a Windows PC? Many of the tutorial videos demonstrate how to build JD using ARC for Windows. If you do not have a Microsoft Windows computer, watch the video below and follow along to build JD. Once JD is built, you may skip the Windows lessons and jump directly to the Mobile App Lesson. Let's Get Building! Identify JD's Servos If the stickers on the shoulder servo wires have fallen off, visit the tutorial HERE. Connecting Camera The EZ-Robot Camera connects to the EZ-B v4 with a 6 pin cable. Notches on the male connector match the EZ-B's female connector. This prevents the plug from connecting incorrectly. The camera connection is unique, making it easy to identify where to connect. It is impossible to connect the camera cable to the wrong connector, as it only fits in the matching plug. Connecting Servos & I/O Much like home theater speakers, the cables of the EZ-B and peripherals are color coded. The BLACK cable on the peripheral (i.e. servo) will connect to match the pin coming out the BLACK side of the EZ-B connector. Servo Orientation Note: Keep a close eye on the EZ-Bit's physical features so you can identify the orientation. In this example, notice the direction of the servo with recognizable features of the real physical EZ-Bit in your hand. If you connect an EZ-Bit backward, your robot will behave funny and not work as expected - but might be worth the laugh!
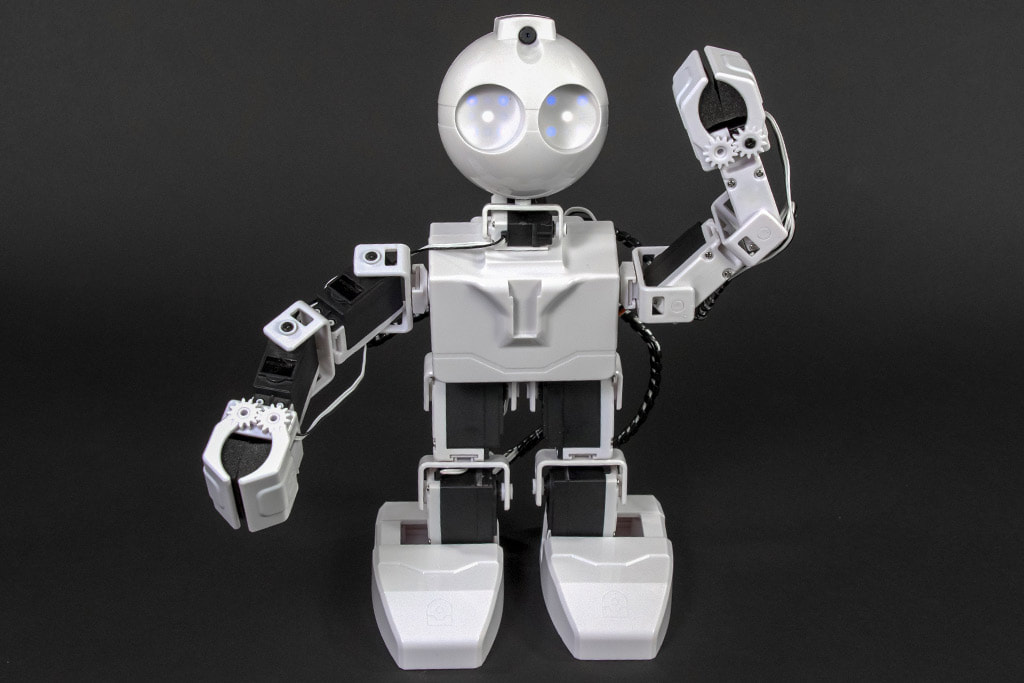
Reference Image Use this image as a reference for correct Servo Orientation during the building process of your JD Humanoid Robot. |


