|
TABLE OF CONTENTS
Software 1. ARC for Windows PC 2. Example Projects 3. Controls 4. Getting Help with Controls 5. ControlCommand() 6. Virtual Desktops 7. RoboScratch 8. Blockly 9. EZ-Script Mobile Software 1. Create a Mobile App Linear Programming 1. Create a Scene Using RoboScratch (Big Hero Six) 2. Create a Scene using Blockly (Avengers) Logical Programming 1. Programming Concepts (Variables, If/Else, Logic) 2. Counting Up 3. Counting Down Camera Input 1. Introduction to the EZ-B Camera 2. Face Detection with RoboScratch 3. Face Detection with Blockly 4. Face Detection with EZ-Script 5. Color Tracking with Servos 6. Color Tracking with Movement 7. Detecting Multiple Colors 8. Line Following with Roli, AdventureBot and Shell-E 9. Vision - Object Training & Recognition 10. Glyphs to Control Robot Movement 11. Detecting Glyphs & Augmented Reality 12. QR Code Detect 13. Microsoft Cognitive Emotion 14. Microsoft Cognitive Vision Audio Input 1. Speech Recognition RGB Output 1. RGB Animations Positioning 1. Servo Control 2. Introduction to Servo Motors 3. Create a Robot Dance 4. Program Robot to Dab 5. Program Robot to Play Piano 6. MYO Gesture Armband Navigation and Movement 1. Movement Panels 2. Navigating using RoboScratch 3. Navigating using Blockly Creative Applications 1. Customize Your EZ-Robot 2. Control Robot From Twitter 3. Nest Thermostat EZ-B v4 Robot Brain 1. EZ-B v4 Robot Brain Overview 2. DIY Autonomous Robot Vehicle 3. EZ-B v4 and IoTiny Wi-Fi Modes 4. Change WiFi Name 5. Resetting Your EZ-B v4 or IoTiny 6. USB WiFi or Ethernet Adapter Robot Troubleshooting 1. Which Robot are You Using? |
Virtual DesktopsIntroduction
Virtual Desktops are the virtual workspaces within ARC (formerly EZ-Builder). ARC gives you two virtual desktops to display your Controls across, allowing you to organize your project in a convenient manner. Additional virtual desktops can be added, if desired. We will guide you through an example project showing you how to organize Controls across multiple virtual desktops. What You Will Need
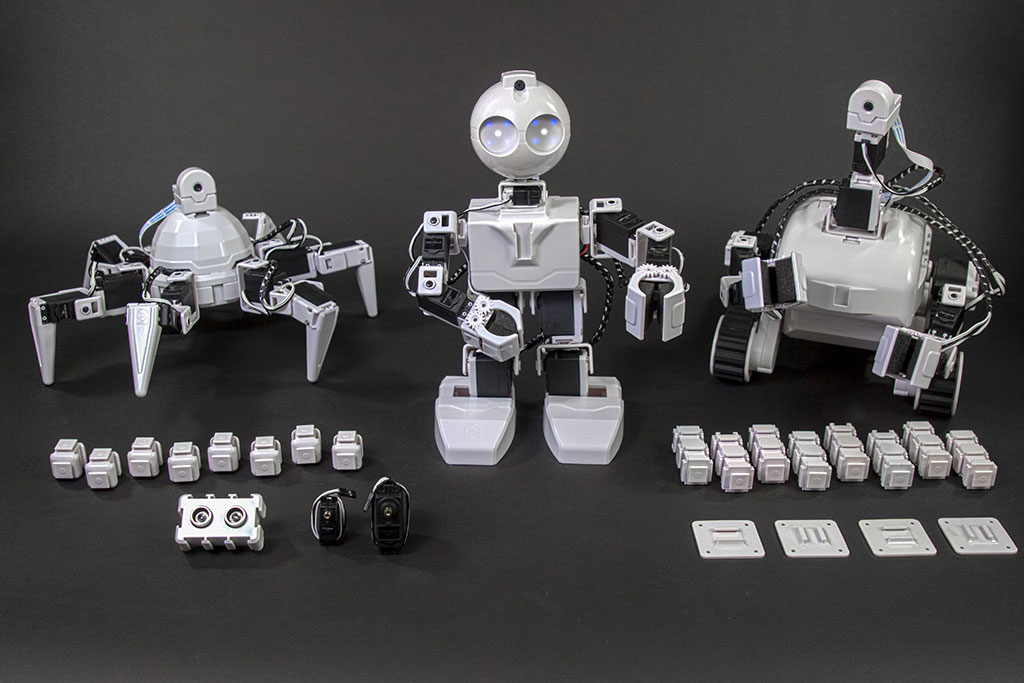
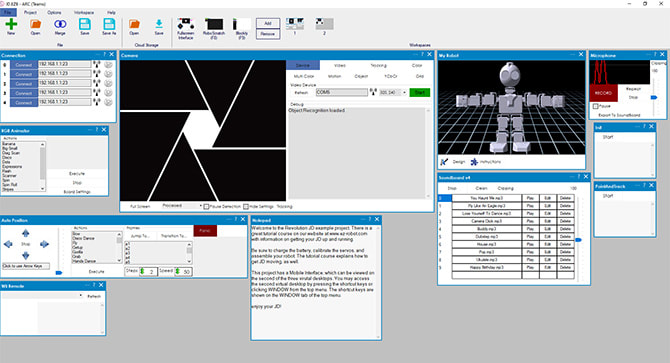
Step 1 Load the JD Humanoid Example Project. Step 2
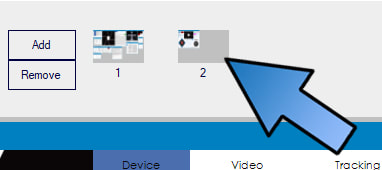
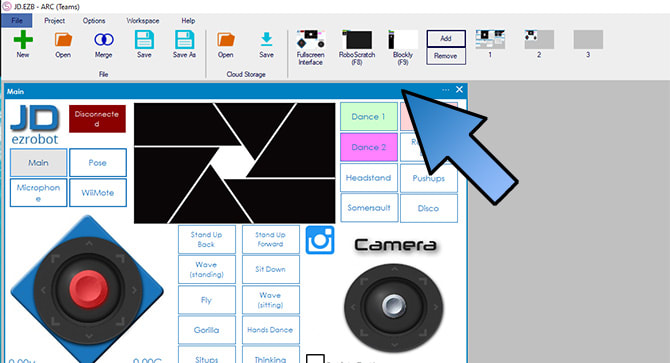
In the main menu at the top of the screen, notice that there are two virtual desktops. Notice that each button is a screenshot of that desktop making it easy to differentiate between virtual desktops. Step 3
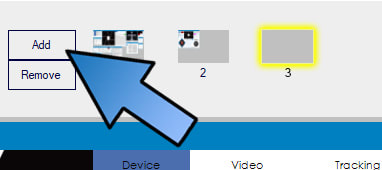
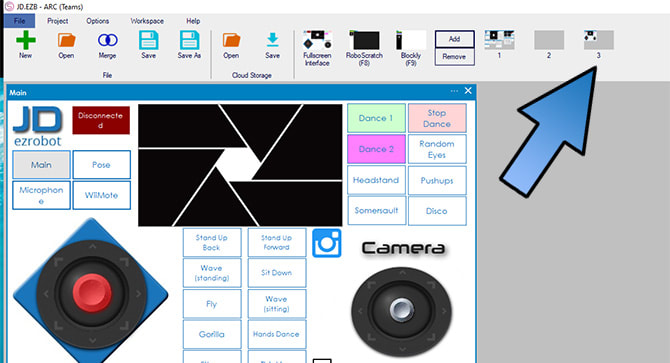
Add a third virtual desktop. Step 4
Click on the second desktop, in the main menu at the top of the screen. You can see that we already have the Mobile Interface Control in this virtual desktop. To move a Control from one virtual desktop to another, right click on the Control title bar and select your target virtual desktop from the drop-down menu. In this example, let's move the Mobile Interface Control to Desktop 3. Step 5
Navigate to Desktop 3 to confirm that the Mobile Interface Control is now located there Keep in mind that all ARC Controls work the same way as the Mobile Interface Control that we used in this example.
|

