|
TABLE OF CONTENTS
Software 1. ARC For Windows PC 2. Example Projects 3. Controls 4. Getting Help with Controls 5. ControlCommand() 6. Virtual Desktops 7. RoboScratch 8. Blockly 9. EZ-Script Mobile Software 1. Create a Mobile App Linear Programming 1. Create a Scene Using RoboScratch (Big Hero Six) 2. Create a Scene using Blockly (Avengers) Logical Programming 1. Programming Concepts (Variables, If/Else, Logic) 2. Counting Up 3. Counting Down Camera Input 1. Introduction to the EZ-B Camera 2. Face Detection with RoboScratch 3. Face Detection with Blockly 4. Face Detection with EZ-Script 5. Color Tracking with Servos 6. Color Tracking with Movement 7. Detecting Multiple Colors 8. Line Following with Roli, AdventureBot and Shell-E 9. Vision - Object Training & Recognition 10. Glyphs to Control Robot Movement 11. Detecting Glyphs & Augmented Reality 12. QR Code Detect 13. Microsoft Cognitive Emotion 14. Microsoft Cognitive Vision Audio Input 1. Speech Recognition RGB Output 1. RGB Animations Positioning 1. Servo Control 2. Introduction to Servo Motors 3. Create a Robot Dance 4. Program Robot to Dab 5. Program Robot to Play Piano 6. MYO Gesture Armband Navigation and Movement 1. Movement Panels 2. Navigating using RoboScratch 3. Navigating using Blockly Creative Applications 1. Customize Your EZ-Robot 2. Control Robot From Twitter 3. Nest Thermostat EZ-B v4 Robot Brain 1. EZ-B v4 Robot Brain Overview 2. DIY Autonomous Robot Vehicle 3. EZ-B v4 and IoTiny Wi-Fi Modes 4. Change WiFi Name 5. Resetting Your EZ-B v4 or IoTiny 6. USB WiFi or Ethernet Adapter Robot Troubleshooting 1. Which Robot are You Using? |
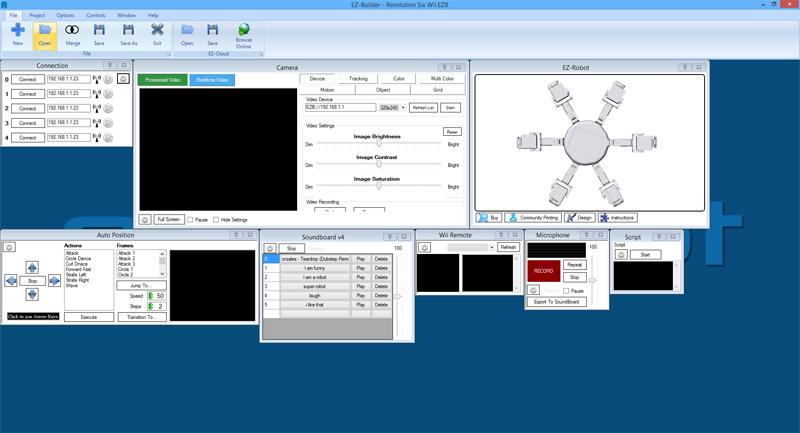
ControlsEach robot project consists of Control Panels. Each Control is a behavior or skill for your robot and can be thought of as a process.
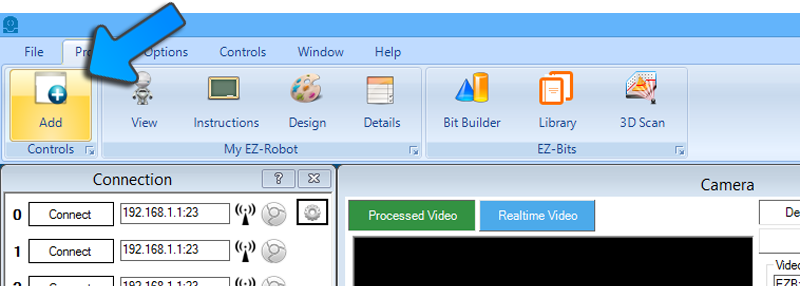
There are Controls for WiiMotes, Cameras, Speech Recognition, and many more. Controls can be added to your project using the Add Control option located in the Project tab in the main menu at the top of the screen. Add Control
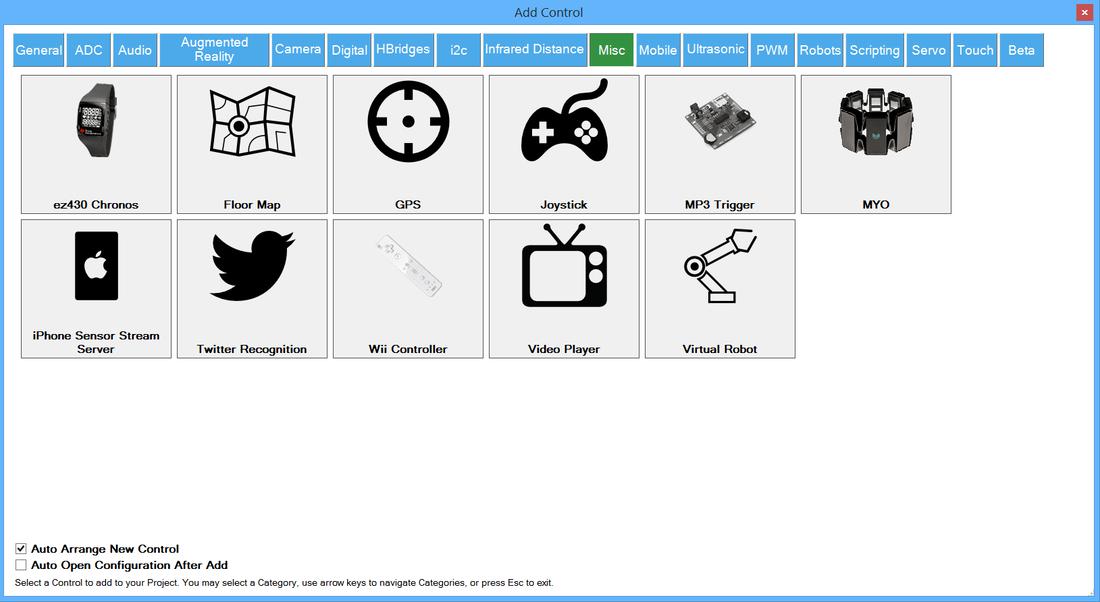
Controls can be added to your project using the Add button located in the Project tab of the main menu. Dialog
When the Add button is pressed, the dialog will be displayed with a list of all Controls in their respective category. Selecting a Control will add it to your project. If you want the Control Panels to automatically rearrange themselves to maximize space within your Project, place a checkmark in the Auto Arrange check-box, located in the bottom left corner of the dialog box. Help For Controls
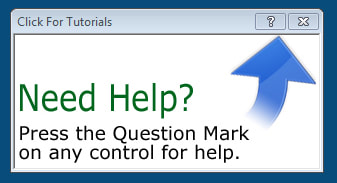
Every Control has a question mark next to the close X button. Pressing the question mark button will direct you to a help page for the respective control.
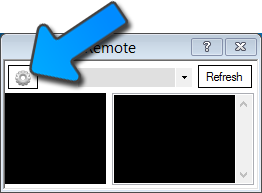
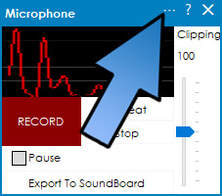
Settings/Configure Button Every Control Panel has a Settings/Configure button. Pressing this button will open the Settings dialog box for the respective control. The Settings dialog box will present numerous configuration options on how the control will behave. *Note:
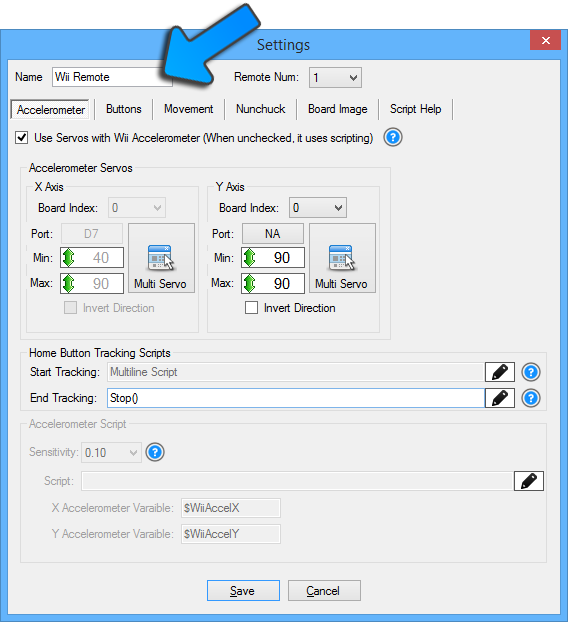
Settings/Configure Dialog Box
Each window has a unique Configuration Dialog with settings related to the behavior. There is one common setting between all controls, which is the Control Title/Name. Each Control requires a unique name. This is because EZ-Script can send commands to Controls to programmatically change parameters. As an example, you can use EZ-Script to tell the Camera Control to send the current image to Twitter. |

